Posted in Video Tutorial (Screencast)

Using Office 365 Forms

Since today is the Monday before Thanksgiving, I feel compelled to wish you a Happy Thanksgiving!  This year, like every year before it, one of the things I’m thankful for is my home state of Kansas.  I’m proud to be Kansan!  I’m proud that I grew up in Kansas, earned my high school diploma from one of our fine K-12 public schools, and then eventually earned undergraduate and graduate degrees from two different Kansas universities.   Comment to let me know what you’re thankful for this holiday week!

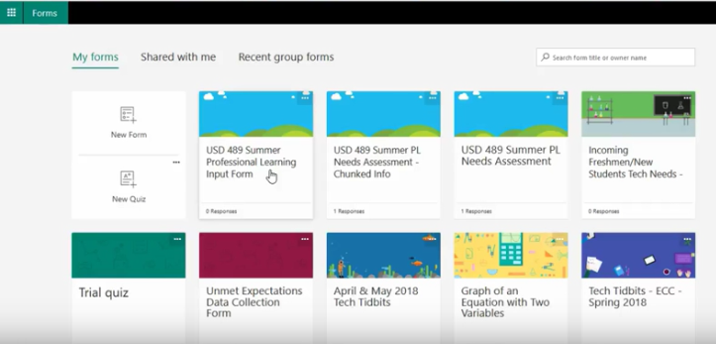
Now on to the tech… It seems as educators we’re always needing to collect data.  Sometimes we collect data from students, sometimes from parents or other stakeholders, and sometimes from each each other.  Regardless of the situation, my favorite tool for data collection is Office 365 Forms.  This tool comes with our Office 365 accounts and is available through our Office 365 portal at portal.office.com.

I’ve made a playlist of five videos that will help you make a Form or if needed, a Quiz.  The playlist includes five videos on each of the following topics:

  • Question Types
  • Sharing Options
  • Settings Menu
  • Branching Features
  • Responses and Data

Each video walks you through a particular set of features available with Forms.  The one you want to pay close attention to is on Sharing Options.  I frequently see teachers in our district use Google Forms to collect data because then “anyone can participate”.  This is a myth!  Office 365 Forms has settings that allow ANYONE to participate just like what’s available with Google.  Also, it’s important to note that if you’re collecting data from students or about students, you NEED to use your school-issued Office 365 account to collect that data.  Using a personal account to do so is NOT SAFE for you or your students. 

Check out the video tutorials here and let me know if you have questions or need additional assistance!

Posted in Video Tutorial (Screencast)

Google Photos: Creating Shared Albums

To make this video, I did some extensive “app-smashing” – I used Pixl on the iPad to create the image you see at the beginning and end of the video.  Then I used iOS 11’s new screen-cast tool to take video of the process you use to make a shared album in the iPad app Google Photos (same process works on the iPhone app).  Finally, I put it all together and recorded my voice over the top using the iPad app Clips.  I need to continue working on this conglomeration of tools as I had to re-record my voice in Clips after already recording my voice in the screen-cast.  The audio portion of my screen-cast didn’t come in correctly on the Clips app.  I’ll update this post if I find a solution to this issue.

Posted in Video Tutorial (Screencast)

Canvas: Creating & Editing Calendar Events

This is the first of many Canvas posts.  Canvas is the Learning Management System (LMS) we use in Hays USD 489 to create our blended learning environments.  Canvas has lots of great features, but honestly, the Calendar makes my top three favorites.  Since I’m a parent as well as an educator, I see Canvas from all sides in any given day – teacher, administrator, parent, and student.  It would be AMAZING if all teachers put as much information as possible about the in-person part of class on the Canvas Calendar.  Seriously.  Students and parents need a one-stop-shop to figure out what happened in class and what the student needs to do before he/she attends class again.  I cannot overemphasize this.

Last week, I sat in a meeting with some desperate parents who couldn’t figure out how best to help their child.  They wanted a golden ticket from me.  They wanted the information I mentioned above: what happened in class and what do we need to do before the next class.  I wish that every student left with that information tattooed to his/her forehead, but I don’t think the parents would approve.  Enter Canvas Calendar.